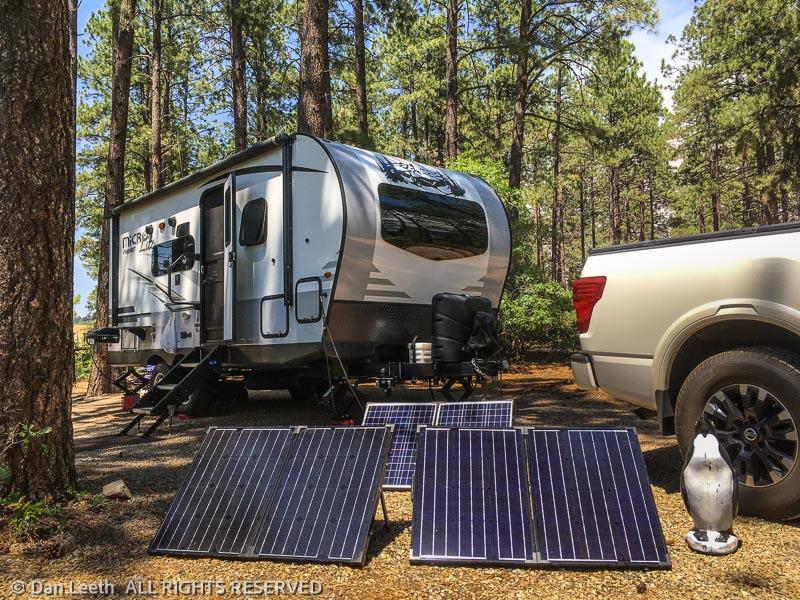
My wife and I do a lot of camping without hookups and we loathe generators.  For us, a good solar charging system was a must.  Here’s how we set up the solar on our 2019 21DS (2104s for you Rockwooders):

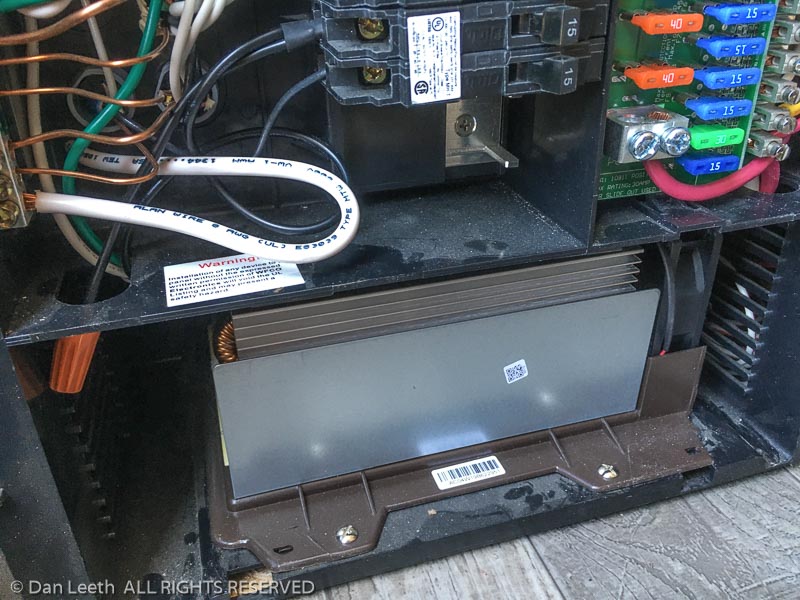
Since we already owned a pair of Renogy 100-watt solar suitcase panels without built-in controllers from our previous trailer, I elected to go with a Victron MPPT solar controller mounted inside the trailer.  The Bluetooth feedback on this unit allows me to see exactly what my solar panel output is at any given time.  That’s something nerds like me really appreciate.

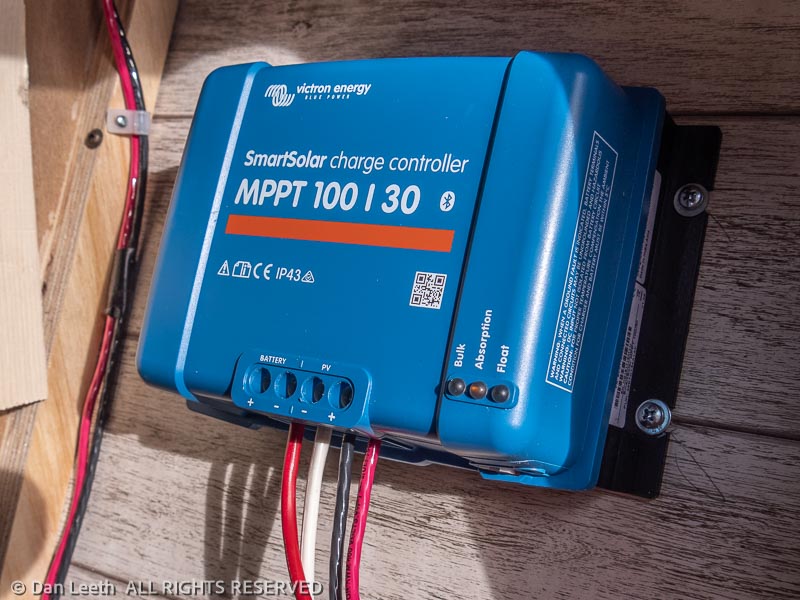
I mounted the controller behind the trim panel inside the front starboard compartment directly below the factory-installed solar plug.  A vent-covered opening in the trim panel allows for cooling.

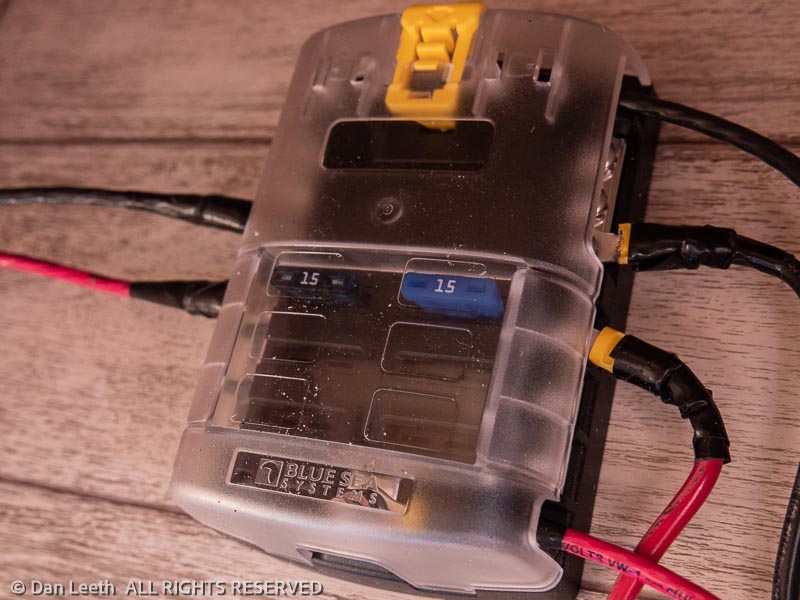
I spliced the wires from the factory plugin, routing the input side through a fuse block and into the controller.  Power from the controller flows to the battery through the other side of the spliced factory wires. 

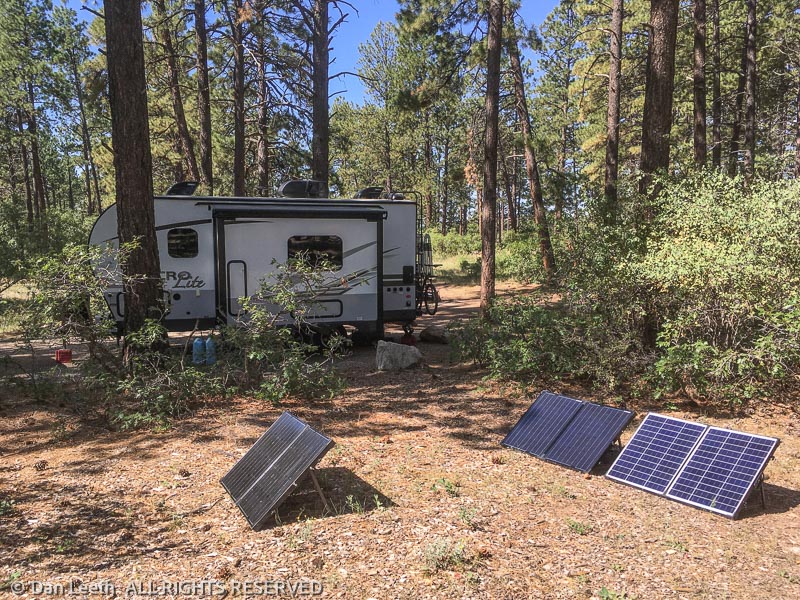
The old adage of “you can put that where the sun don’t shine” seems to have influenced the location where Forest River placed the solar input.  The one solitary solar plugin on the starboard front of the trailer is fine if the sun comes from that direction.  But it often doesn’t.  To allow for more solar panel placement options, I installed additional solar plugs on the three remaining corners of the trailer. 

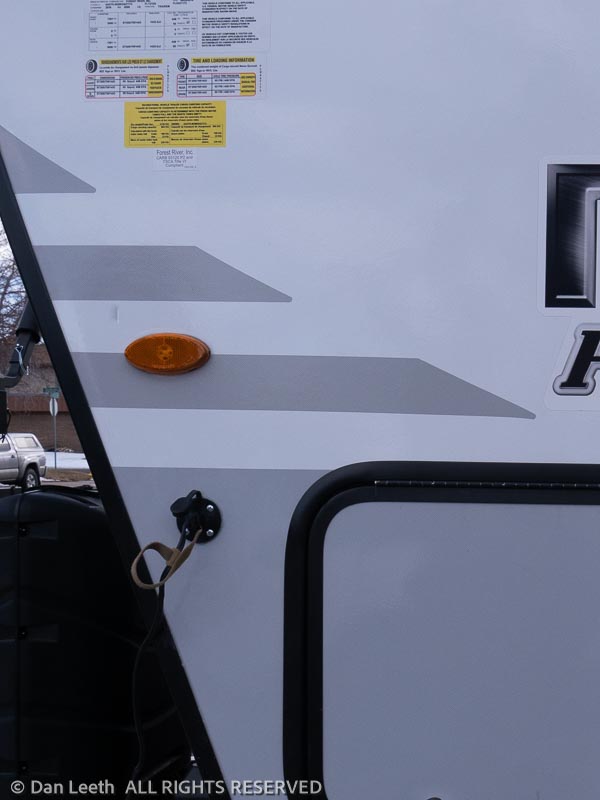
The additional plug on the front of the port side was easy.  I just popped a hole, mounted the plugin with a rubber gasket and loads of silicone sealant.  I routed the wires through the Murphy bed cavity and into the fuse block on the opposite side of the trailer.

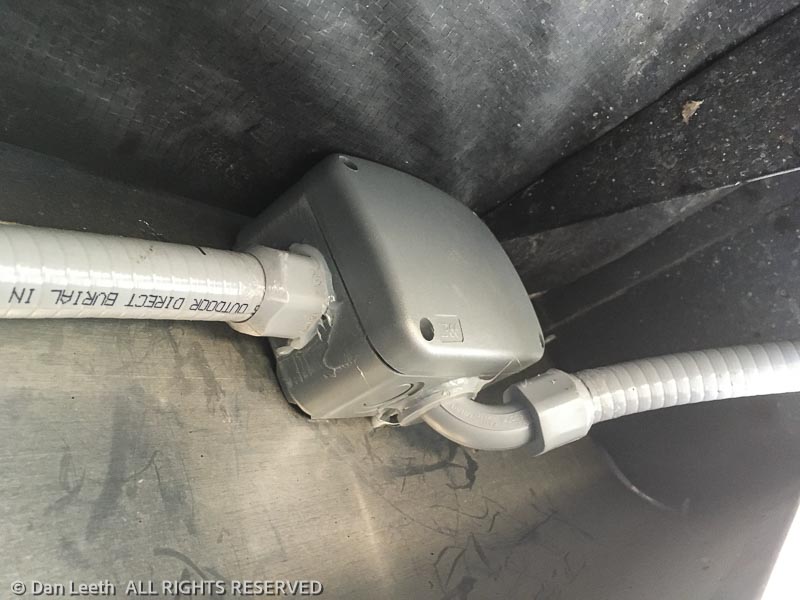
Plugins for the back were a bit more complicated.  For that, I drilled holes into the aluminum skirting below the trailer walls and screwed the Zamp plugs into watertight junction boxes hidden behind the skirting. 

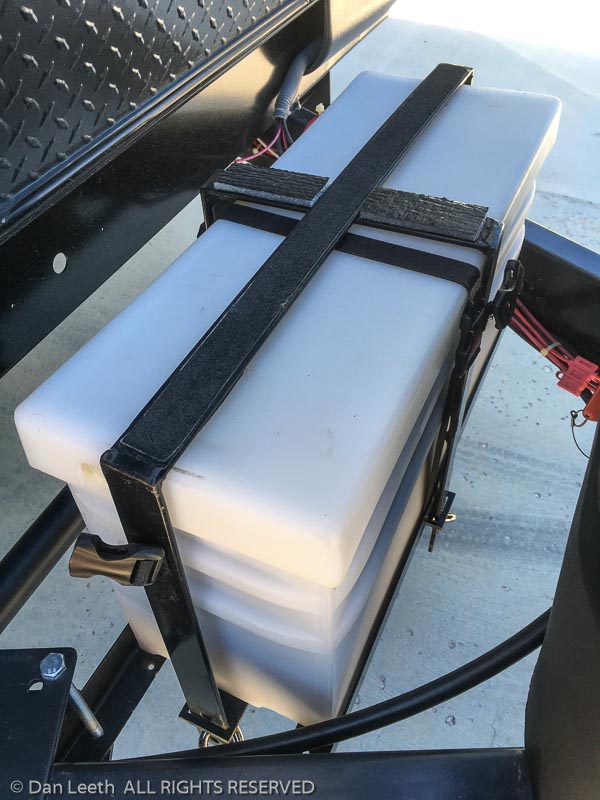
I ran marine-grade 10 AWG wire through flexible conduit bolted to the trailer frame to connect the port plug to its starboard mate.  Another run of wire in flexible conduit along the frame and up through the floor connected the rear plugins to the controller fuse block.

It took a good six-beers to complete the project, but the end result is that I can now place solar panels (we now have three) around any corner of the trailer.  That’s handy for those of us equipped with wives who like to camp in shady surroundings.

Gone are our old pair of 65-amp lead-acid batteries.  In their place sits a new LiFeBlue 200-amp, low temperature lithium iron phosphate battery.

After considering several options (including the popular Battle Born brand), we chose the LiFeBlue, which comes with Bluetooth battery monitoring.  With my iPhone or iPad, I can look up the voltage, the state of charge, how many recharging cycles it’s gone through, the status of each cell bank inside and more.  This is in addition to what I get from my battery monitor.

Then there is size.  This 200-amp LiFeBlue battery fits in a battery box made for two group 24 or two GC2 golf cart batteries, which is what we already owned.  Although Battle Born makes a 100-amp GC2-size battery, the group 27s that Battle Born and others sell would not have fit.

Another reason we chose LiFeBlue is that they offer an optional low temperature lithium battery.  Most lithium RV batteries cannot be recharged in subfreezing weather.  If the battery is located inside the RV/trailer, that may not be an issue.  Ours, unfortunately, must be mounted outside.  Our low-temperature battery has a built-in heating unit that allows it to be recharged in cold conditions.  It’s not often we’ve been camping in subfreezing conditions, but it has happened.

To prevent theft of the batteries, we bought a battery shackle (about $150 from batteryshackle.com).  Thick steel and three padlocks pretty much ensure that any thief is going to have to work his tail off to abscond with this battery.

Our Battery Shackle is mounted upside down with the padlocks on the bottom.  This gives us a flat area to strap on an empty jerry can or two we can use in camp for hauling water when we’re boonie camping.

To fully charge a lithium battery, one must install a power converter specifically designed for lithium batteries.  There are several replacement units available to transform our stock WFCO 8955 converter into a lithium-ready converter.  We chose the WFCO WF-8950L2-MBA, which required little more than undoing a few screws and disconnecting/reconnecting five wires. 

We now have 200 amp-hours of battery power available for boonie camping.  With lead-acid batteries, one is warned to never go below 50% of the available amp-hours.  Lithium does not have that limitation.  Plus, lithium batteries with the proper power converter/solar controller will charge up many times faster than lead-acid batteries.  We’ll test that out on our next camping trip.

One fringe benefit of lithium is weight.  Our two lead-acid batteries that came with the trailer weighed 78.4 pounds in total.  The lithium replacement only weighs 55.4 pounds.  That’s a weight savings of 23 pounds…

…which means we can carry 30 more 12-ounce beers onboard without increasing the trailer load.